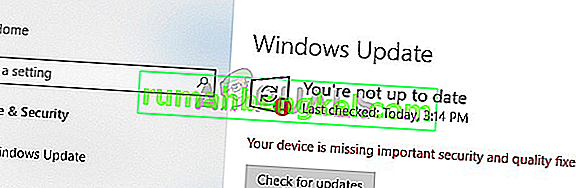
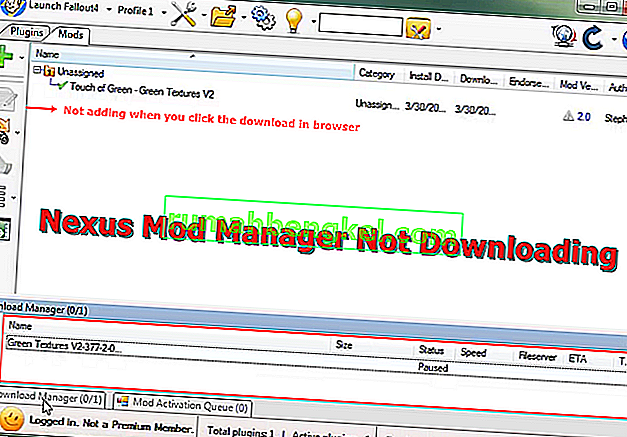
Os usuários normalmente encontram esse problema após tentar atualizar o Windows 10 por meio do Windows Update (WU). O erro 0x8024a105sinaliza um problema com os componentes das Atualizações Automáticas .Normalmente, após uma atualização com falha, os usuários verão a seguinte mensagem:
“Houve problemas ao baixar algumas atualizações, mas tentaremos novamente mais tarde. Se continuar vendo isso, tente pesquisar na web ou entrar em contato com o suporte para obter ajuda. Este código de erro pode ajudar: (0x8024a105). ”

Se você está lutando contra esse problema, identificamos algumas correções viáveis que ajudaram com sucesso usuários em uma situação semelhante à sua. Siga cada um dos métodos abaixo na ordem até encontrar uma solução que consiga resolver o seu problema.
Método 1: executando o solucionador de problemas do Windows Update
Vamos começar de forma simples, executando o solucionador de problemas do Windows Update . Alguns usuários conseguiram permitir que as atualizações passassem, permitindo que o solucionador de problemas embutido corrija automaticamente os componentes quebrados. Este é um guia rápido sobre como executar o Windows Update Troubleshooter :
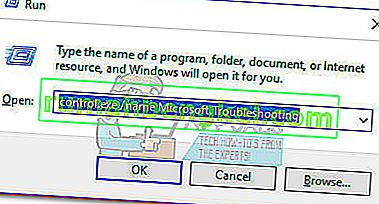
- Pressione a tecla Windows + R para abrir uma janela Executar. Digite ou cole o seguinte.
control.exe / nome Microsoft. Solução de problemas
Pressione Enter para abrir o solucionador de problemas integrado.
- Na janela Solução de problemas , clique em Windows Update e em Executar a solução de problemas .
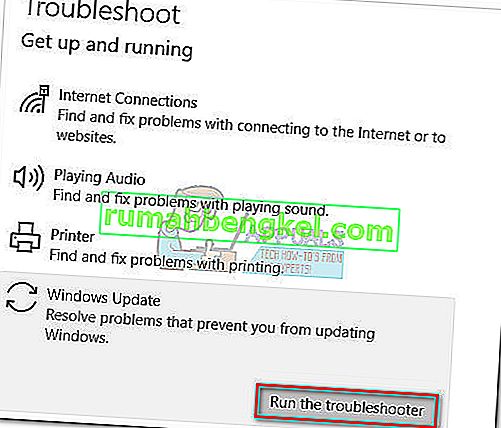
- Aguarde até que o solucionador de problemas detecte problemas com o cliente de atualização. Se conseguir identificar algum problema, siga as instruções na tela para acionar o reparo automático. Normalmente, você só precisa escolher Aplicar esta correção .
- Se o Solucionador de problemas de atualização relatar que conseguiu consertar alguma coisa, reinicie o computador e veja se o problema é resolvido na próxima inicialização.


Se as atualizações ainda estiverem falhando com o erro 0x8024a105 , vá para o Método 2.
Método 2: alterar as configurações de controle de conta de usuário (UAC)
Se o solucionador de problemas não conseguiu corrigir o problema automaticamente, vamos ver se o problema não foi criado por uma configuração de Controle de conta de usuário . Acontece que algumas atualizações estavam falhando com o erro 0x8024a105 porque a conta conectada não tem as permissões necessárias. Você pode solucionar esse problema facilmente alterando as permissões das contas de usuário relacionadas à sua conta para o administrador. Aqui está um guia rápido para fazer isso:
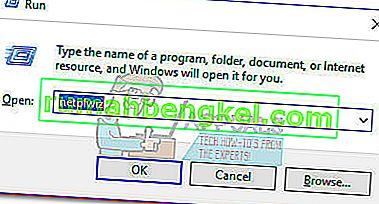
- Pressione a tecla Windows + R para abrir uma janela Executar. Digite ou cole “ netplwiz ” e pressione Enter para abrir o solucionador de problemas integrado.
- Na guia Usuários , selecione o usuário que você está usando e clique em Propriedades.
- Na janela Propriedades , vá para Associação ao grupo e defina o nível de acesso do administrador . Clique em Aplicar para salvar suas alterações.
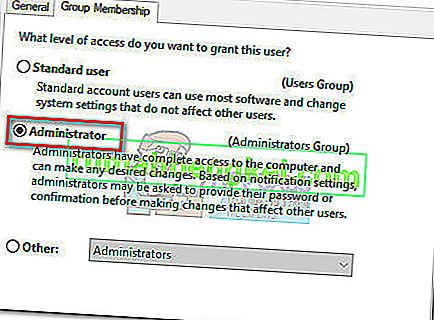 Nota: Se o nível de acesso já estiver definido como Administrador , vá diretamente para o Método 3 .
 - Reinicie seu computador e certifique-se de fazer o login com a mesma conta de usuário. Assim que a inicialização for concluída, tente realizar as atualizações novamente. Se você perceber que eles falham com o erro 0x8024a105 , vá para o terceiro método.

 Nota: Se o nível de acesso já estiver definido como Administrador , vá diretamente para o Método 3 .
Método 3: redefinindo os componentes do Windows Updates manualmente
Se os métodos acima não foram bem-sucedidos, não temos escolha a não ser redefinir manualmente os componentes de atualizações do Windows e reiniciar o processo do Windows Update . Dos quatro métodos apresentados, este tem maior probabilidade de sucesso, mas requer mais ajustes.
Aqui está um guia rápido para redefinir os componentes do Windows Updates:
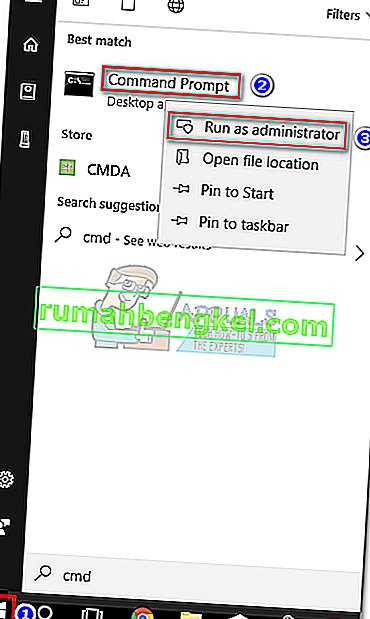
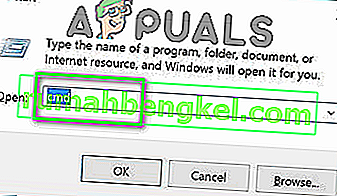
- Clique na barra Iniciar do Windows (canto inferior esquerdo) e pesquise “ cmd “. Em seguida, clique com o botão direito do mouse no prompt de comando e escolha Executar como administrador .
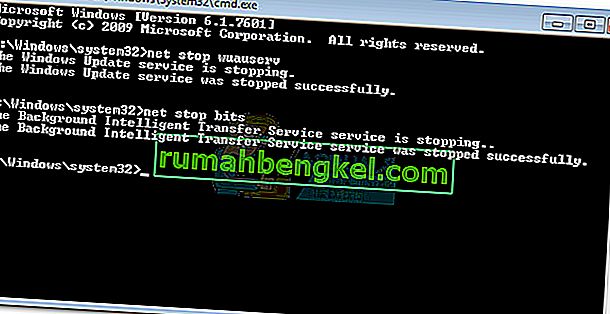
- No prompt de comando elevado, vamos interromper os serviços do MSI Installer, Windows Update, BITS e Cryptographic . Para fazer isso, insira os seguintes comandos e pressione Enter após cada um:
net stop wuauserv net stop cryptSvc net stop bits net stop msiserver
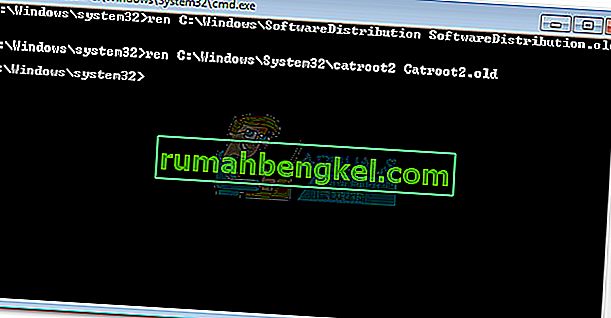
- Assim que todos os serviços forem interrompidos, vamos renomear a pasta SoftwareDistribution e a pasta Catroot2 para forçar o Windows Update a reiniciar seus componentes. Cole ou digite os dois comandos no prompt de comando elevado e pressione Enter após cada um:
ren C: \ Windows \ SoftwareDistribution SoftwareDistribution.old
ren C: \ Windows \ System32 \ catroot2 Catroot2.old
- Assim que as duas pastas tiverem sido renomeadas, é hora de reiniciar os serviços do MSI Installer, BITS, Cryptographic e Windows Update. Para fazer isso, digite o seguinte comando no prompt de comando e pressione Enter após cada comando:
net start wuauserv net start cryptSvc net start bits net start msiserver
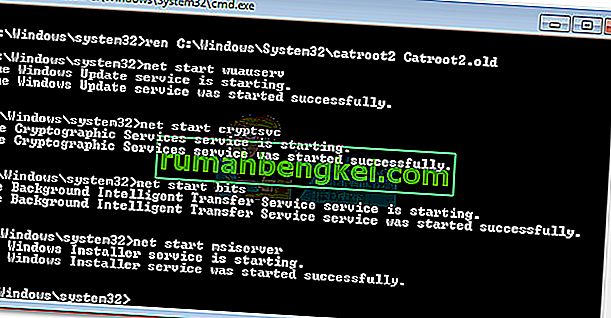
- Depois que os serviços forem reiniciados, feche o Prompt de Comando elevado e reinicie o computador.


Método 4: Excluir Pasta de Distribuição de Software
Em alguns casos, o problema pode ser corrigido simplesmente excluindo uma pasta usando o Powershell. Portanto, nesta etapa, primeiro, estaremos executando o PowerShell como administrador e, em seguida, excluiremos a pasta de distribuição de software para iniciar o processo de atualização. Por isso:
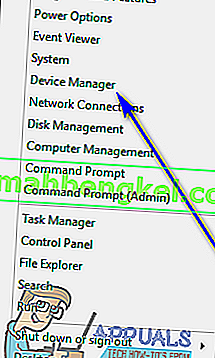
- Pressione os botões “Windows” + “X” simultaneamente e selecione a opção “Power Shell (Admin)” .
- Digite o seguinte comando e pressione “Enter” para executá-lo.
net stop wuauserv
- Novamente, digite o seguinte comando e pressione “Enter”.
bits de parada de rede
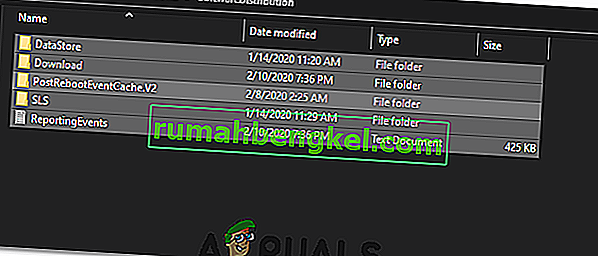
- Por último, navegue até a seguinte pasta.
C: \ Windows \ SoftwareDistribution
- Pressione “Ctrl” + “A” para selecionar todo o conteúdo da pasta e pressione “Shift” + botão “Del” para excluí-los permanentemente.
- Confirme todos os avisos que avisam sobre a exclusão desses arquivos e reinicie o computador para concluir o processo.
- Agora, tente atualizar e verificar se o problema persiste.

Depois que o computador for reiniciado, verifique se você consegue instalar as atualizações sem o erro 0x8024a105 . Se você fizer isso, tente realizar uma varredura SFC para corrigir quaisquer problemas com arquivos ou drivers ausentes.
Método 5: Atualizar usando a ferramenta de criação de mídia
Em alguns casos, você pode não conseguir atualizar seu computador usando o processo padrão do Windows Update porque o Windows pode não conseguir estabelecer uma conexão adequada com os servidores de atualização. Portanto, nesta etapa, implantaremos a Ferramenta de Criação do Windows Media para realizar a atualização para nós. Ele irá baixar e instalar automaticamente os arquivos de atualização para atualizar nosso Windows. Por isso:
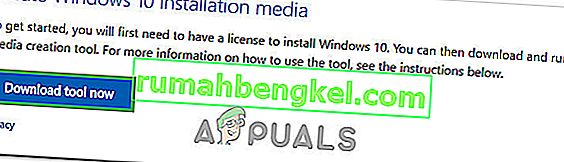
- Baixe a ferramenta de criação do Windows Media aqui.
- Run the executable and follow with the on-screen instructions for the initial setup.
- After the initial setup, select the “Upgrade this PC” option and click on “Next”.
- Accept the License terms and let the installer run.
- The tool will now automatically grab the update files from the servers and update your computer to the latest version available.
- Check to see if doing so has fixed the error.

Method 6: Delete Download Folders
When a new update is downloaded, it is generally stored in some folders on the computer. In this step, we will be deleting some of these folders and which will prompt the operating system to go ahead and download new files which can sometimes clear out the error and the update will be applied normally. For that:
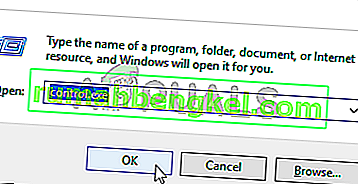
- Press “Windows” + “R” to open the Run prompt.
- Type in “Control Panel” and press “Enter” to launch the classical control panel interface.
- In the Control Panel, click on the “View By:” option and select “Large Icons” from the list.
- Click on the “File Explorer Options” and a new window should pop up.
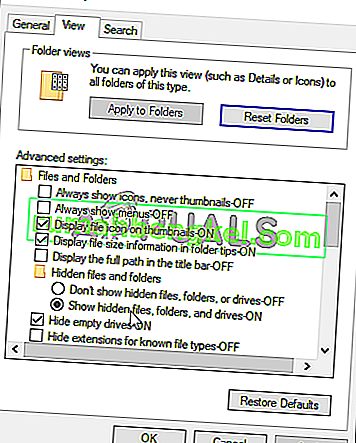
- In the File Explorer Options, click on the “View” button and then double click on the “Files and Folders” button to expand it.
- After that, double click on the ‘Hidden Files and Folders” to expand it as well.
- Check the “Show hidden Files, Folders and Drives” option and click on “Apply” to save your changes.
- Click on “OK” to close out of the window and press “Windows’ + “E” to launch the file explorer.
- In the File Explorer, delete the “$Windows.~WS” and “$Windows. ~BT” folders.
- Make sure to clear out the recycle bin as well so that they cannot be recovered.
- After this, press “Windows’ + “I” to launch settings and click on the “Update and Security” option.
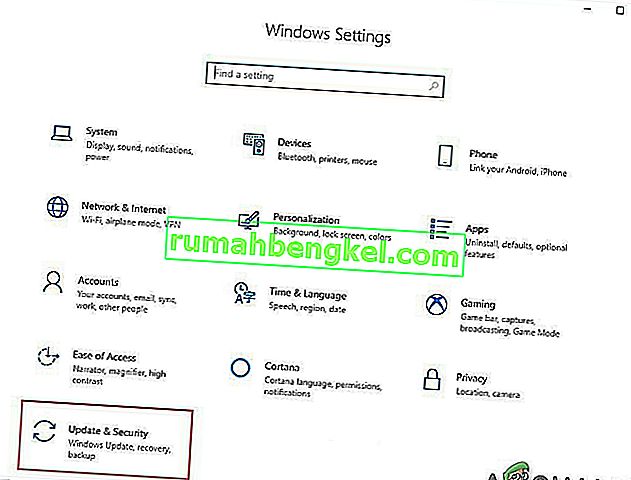
- In Update and Security, click on the “Windows Update” option on the left pane and then click on the “Check for Updates” button.
- Updates will now automatically be downloaded and installed.
- Check to see if the issue persists.


Method 7: Resetting Catroot2 Folder
In some cases, it is possible that the Catroot2 folder and its files have either been corrupted or they have been misconfigured due to which this issue is being triggered. Therefore, in this step, we will first be making some changes from the command prompt and then we will delete the files inside that folder. For that:
- Press “Windows’ + “R” to launch the run prompt.
- Type in “cmd” and then press “Shift” + “Ctrl” + “Enter” to provide administrative privileges.
- Type in the following command and press “Enter” to execute it.
net stop cryptsvc
- After you have stopped the cryptsvc using the command above, type in the following commands into the command prompt one by one and press “Enter” after each to execute them on your computer.
md %systemroot%system32catroot2.old xcopy %systemroot%system32catroot2 %systemroot%system32catroot2.old /s
- After executing the commands stated above, we will be deleting all the files from the catroot folder without deleting the folder itself.
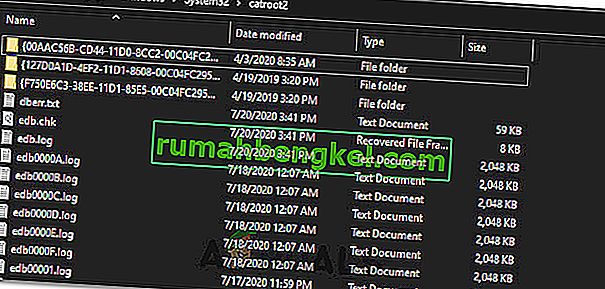
- Press “Windows’ + “R” to open the Run prompt and type in the following address to navigate to the catroot folder.
C:/Windows/System32/catroot2
- Press “Ctrl” + “A” once inside the folder to select all items inside it and press “Shift” + “Delete” to remove them from your computer.
- After removing these, confirm any prompts that might spring up on your screen.
- After that, open the command prompt back up and execute the following command.
net start cryptsvc
- Try to update your computer and check to see if the issue still persists.


Method 8: Configuring Services to Start Automatically
Sometimes, your computer might be preventing certain services from starting and functioning in the background due to which the update might not be properly installed or configured to be applied on your computer. Therefore, in this step, we will be setting up some services to startup automatically. For that:
- Press “Windows’ + “R” to launch the Run prompt.
- Type in “cmd” and press “Ctrl” + “Shift” + “Enter” to provide admin permissions.

- Type in the following commands one by one in the command prompt and press “Enter” after each to execute them.
SC Config wuauserv start=auto SC Config bits start=auto SC Config cryptsvc start=auto SC Config trustedinstaller start=auto
- This way, we will have configured these services to startup and run automatically in the background.
- Check to see if the issue persists.

Method 9: Re-register Windows Update and BITS Files
It is possible that some windows update files and Bits files might not be properly registered on your computer. Therefore, in this step, we will be re-registering these files on the computer and then we will check to see if that fixes our issue. For that:
- Press “Windows’ + “R’ to open the Run prompt.
- Type in “cmd” and then press the “Ctrl” + “Shift” + “Enter” buttons to provide admin permissions.
Type in the following commands one by one and press “Enter” after each to register the components.regsvr32.exe atl.dll regsvr32.exe urlmon.dll regsvr32.exe mshtml.dll regsvr32.exe shdocvw.dll regsvr32.exe browseui.dll regsvr32.exe jscript.dll regsvr32.exe vbscript.dll regsvr32.exe scrrun.dll regsvr32.exe msxml.dll regsvr32.exe msxml3.dll regsvr32.exe msxml6.dll regsvr32.exe actxprxy.dll regsvr32.exe softpub.dll regsvr32.exe wintrust.dll regsvr32.exe dssenh.dll regsvr32.exe rsaenh.dll regsvr32.exe gpkcsp.dll regsvr32.exe sccbase.dll regsvr32.exe slbcsp.dll regsvr32.exe cryptdlg.dll regsvr32.exe oleaut32.dll regsvr32.exe ole32.dll regsvr32.exe shell32.dll regsvr32.exe initpki.dll regsvr32.exe wuapi.dll regsvr32.exe wuaueng.dll regsvr32.exe wuaueng1.dll regsvr32.exe wucltui.dll regsvr32.exe wups.dll regsvr32.exe wups2.dll regsvr32.exe wuweb.dll regsvr32.exe qmgr.dll regsvr32.exe qmgrprxy.dll regsvr32.exe wucltux.dll regsvr32.exe muweb.dll regsvr32.exe wuwebv.dll
- After executing the commands listed above, check to see if the issue still persists.

Note: After trying the following fixes, if the issue still persists, try to perform a clean boot and check if that fixes it. If it does, update in the clean boot and then get out of it after the update is completed. If that doesn’t work, try to go for a clean install of Windows.